
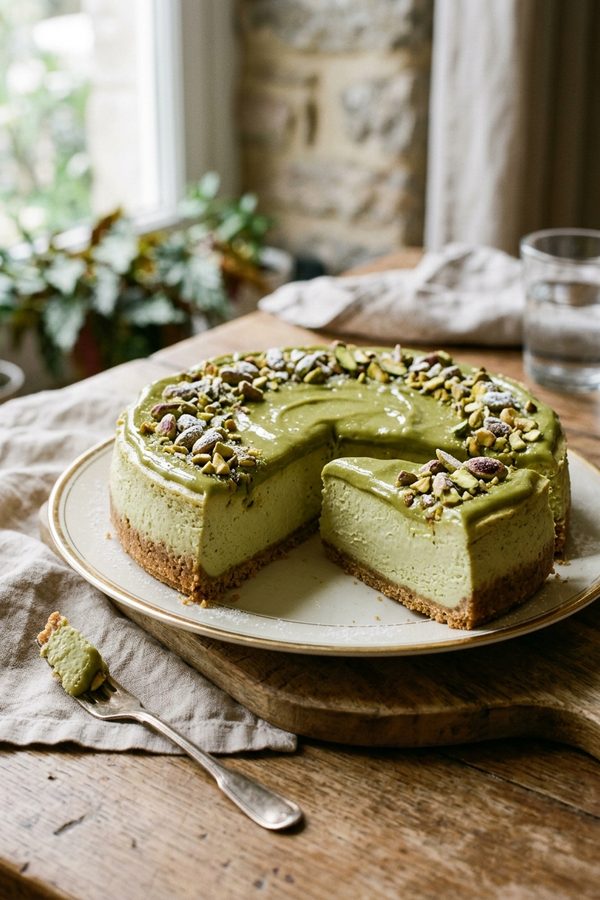
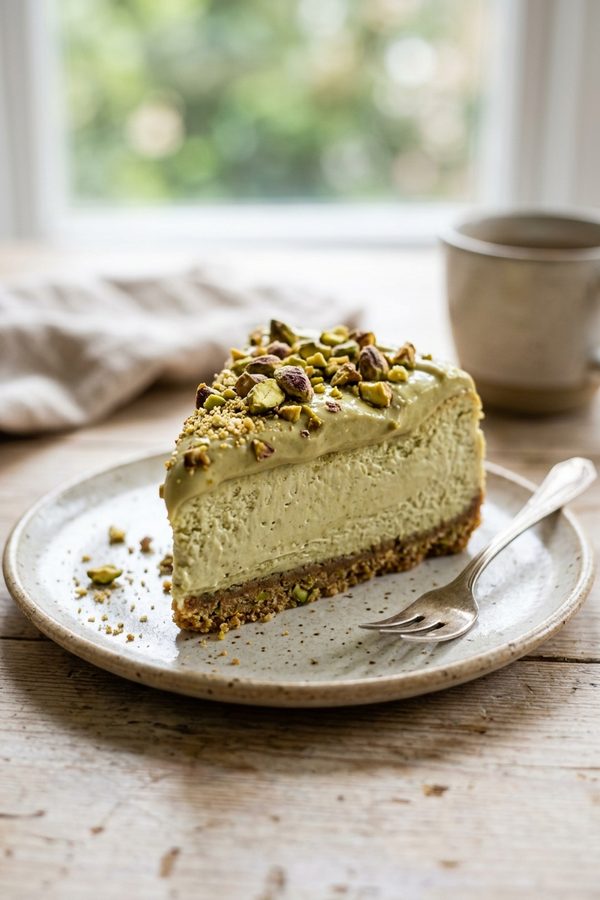
Pistachio Dream Cheesecake is a creamy baked cheesecake with a buttery graham cracker crust, a smooth vanilla cream cheese filling, and a rich pistachio cream topping. Chopped pistachios add color, crunch, and a strong nutty finish.
The filling stays classic and simple, while the pistachio topping gives the dessert its signature flavor. After baking, the cheesecake needs plenty of chilling time so it slices cleanly.
Why You’ll Love This Pistachio Cheesecake
- Rich and creamy: cream cheese and heavy cream create a smooth filling.
- Nutty topping: pistachio paste brings concentrated flavor.
- Simple crust: graham crumbs, sugar, and melted butter.
- Elegant finish: chopped pistachios make the cheesecake look polished.
- Make-ahead friendly: chilling overnight works beautifully.
Ingredient Notes
Graham cracker crumbs: Press them firmly into the pan so the crust holds together cleanly.
Cream cheese: Let it soften before mixing to avoid lumps.
Eggs: Add them one at a time and mix only until incorporated.
Heavy cream: Used in both the filling and pistachio topping for a smooth texture.
Pistachio paste: This gives the topping its main pistachio flavor.
How to Make Pistachio Dream Cheesecake
Preheat the oven to 325°F (163°C). Mix the graham cracker crumbs, sugar, and melted butter. Press into the bottom of a springform pan and bake for 10 minutes, then cool slightly.
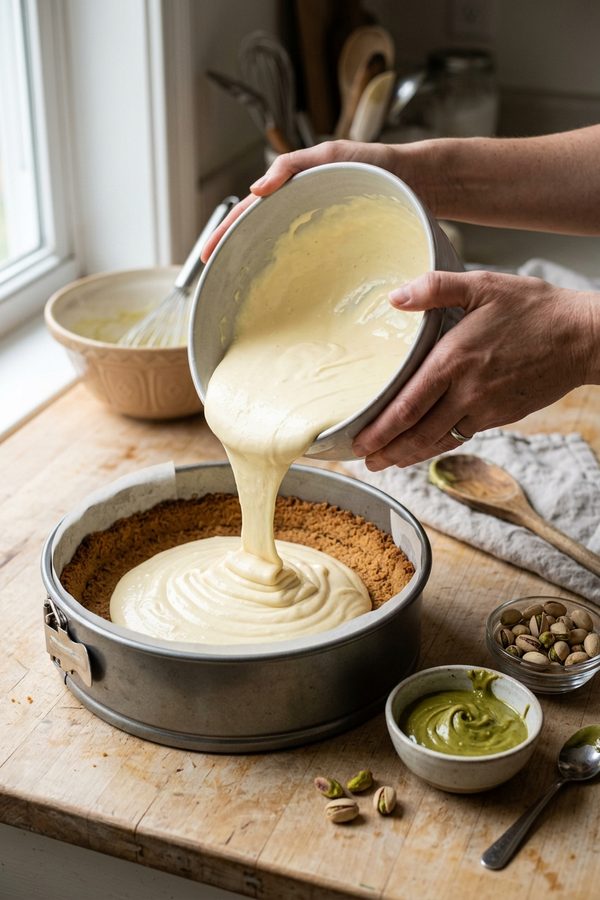
Beat the softened cream cheese and sugar until smooth. Add the eggs one at a time, followed by the vanilla and heavy cream. Mix just until combined.
Pour the filling over the crust and bake for about 50–55 minutes, until the edges are set and the center still has a slight wobble.
Turn off the oven, crack the door, and let the cheesecake cool gradually. Refrigerate for at least 6 hours or overnight.
For the topping, beat the pistachio paste, heavy cream, and powdered sugar until smooth and thick enough to spread. Spoon or spread over the chilled cheesecake, then finish with chopped pistachios.
Pistachio Dream Cheesecake Recipe
Pistachio Dream Cheesecake
Ingredients
Method
- Preheat the oven to 325°F (163°C). Mix the graham cracker crumbs, sugar, and melted butter. Press into the bottom of a springform pan and bake for 10 minutes. Cool slightly.
- Beat the softened cream cheese and sugar until smooth. Add the eggs one at a time, then mix in the vanilla and heavy cream just until combined.
- Pour the filling over the crust and bake for about 50–55 minutes, until the edges are set and the center still has a slight wobble.
- Turn off the oven, crack the door, and let the cheesecake cool gradually. Refrigerate for at least 6 hours or overnight.
- Beat the pistachio paste, heavy cream, and powdered sugar until smooth and thick enough to spread.
- Spread the pistachio cream over the chilled cheesecake and garnish with chopped pistachios.
Notes
- Cook Time: about 65 minutes, including the crust.
- Total Time: about 7 hours 30 minutes, including chilling.
- Course: Dessert.
- Cuisine: American.
- Keyword: pistachio dream cheesecake.
- Servings: about 10 slices.
Helpful Tips
- Use room-temperature cream cheese for the smoothest filling.
- Do not overmix after adding the eggs.
- Cool gradually to help reduce cracking.
- Chill thoroughly before adding the topping and slicing.
- Use finely chopped pistachios for an even garnish.
Storage
Keep the cheesecake covered in the refrigerator. It is best served chilled and should stay refrigerated because of the cream cheese and heavy cream.
Frequently Asked Questions
How long should the cheesecake chill?
At least 6 hours, though overnight gives the cleanest slices.
Can I make it a day ahead?
Yes. This cheesecake is ideal for making ahead because it benefits from a long chill.
When should I add the pistachio topping?
Add it only after the cheesecake is fully chilled.
Can I use chopped pistachios on top?
Yes. The supplied recipe specifically includes chopped pistachios for garnish.
Final Thoughts
Pistachio Dream Cheesecake combines a classic creamy filling with a rich pistachio topping and crunchy pistachio garnish. Browse more dessert recipes on Taste With Emma.
Leave a Reply